Project: eXtremesurf Office
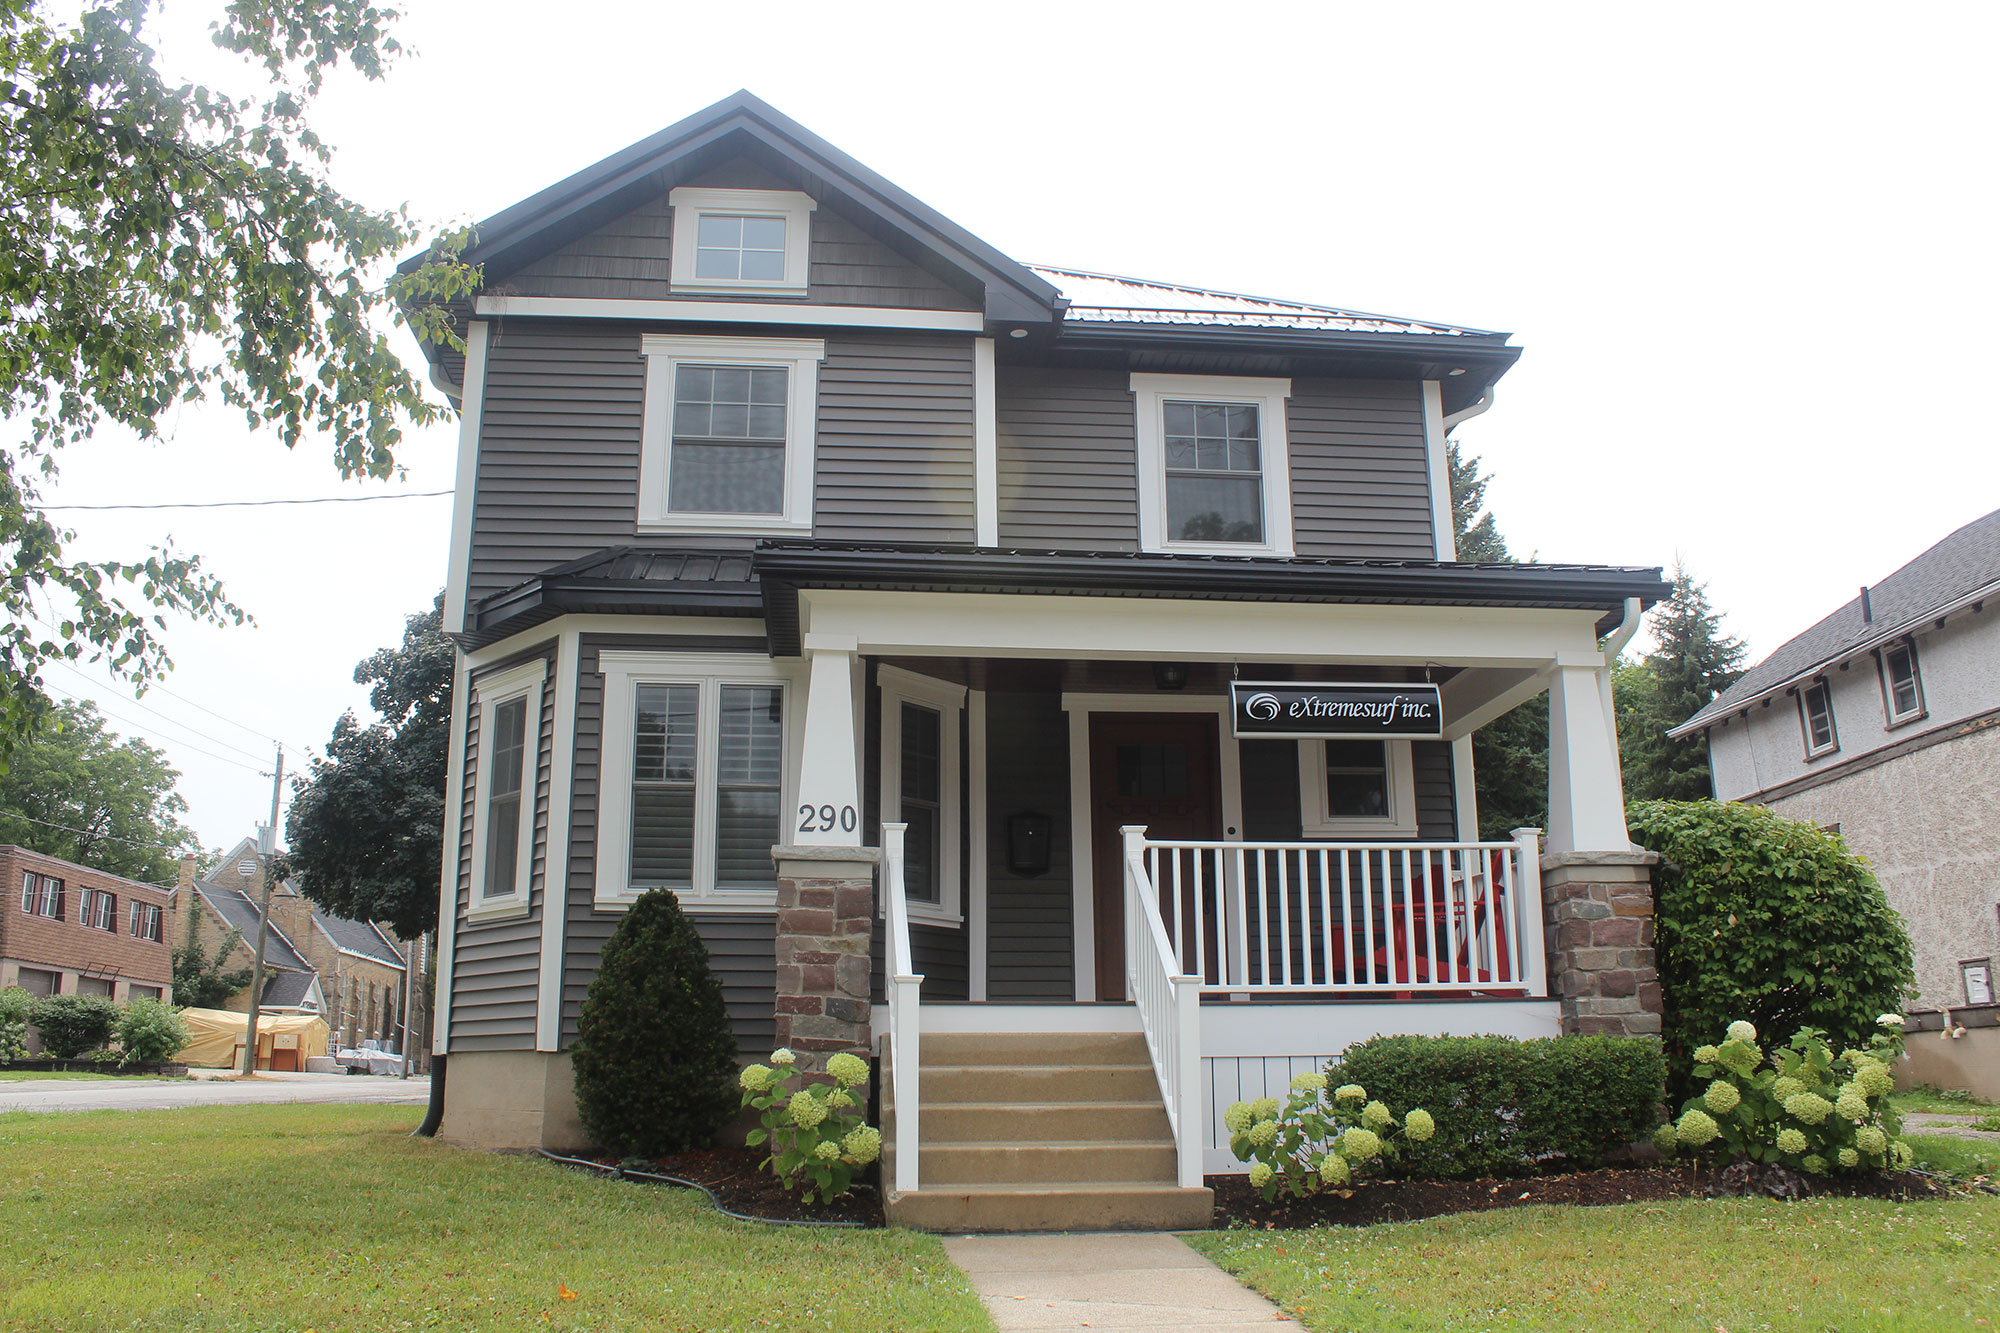
The office after renovation!
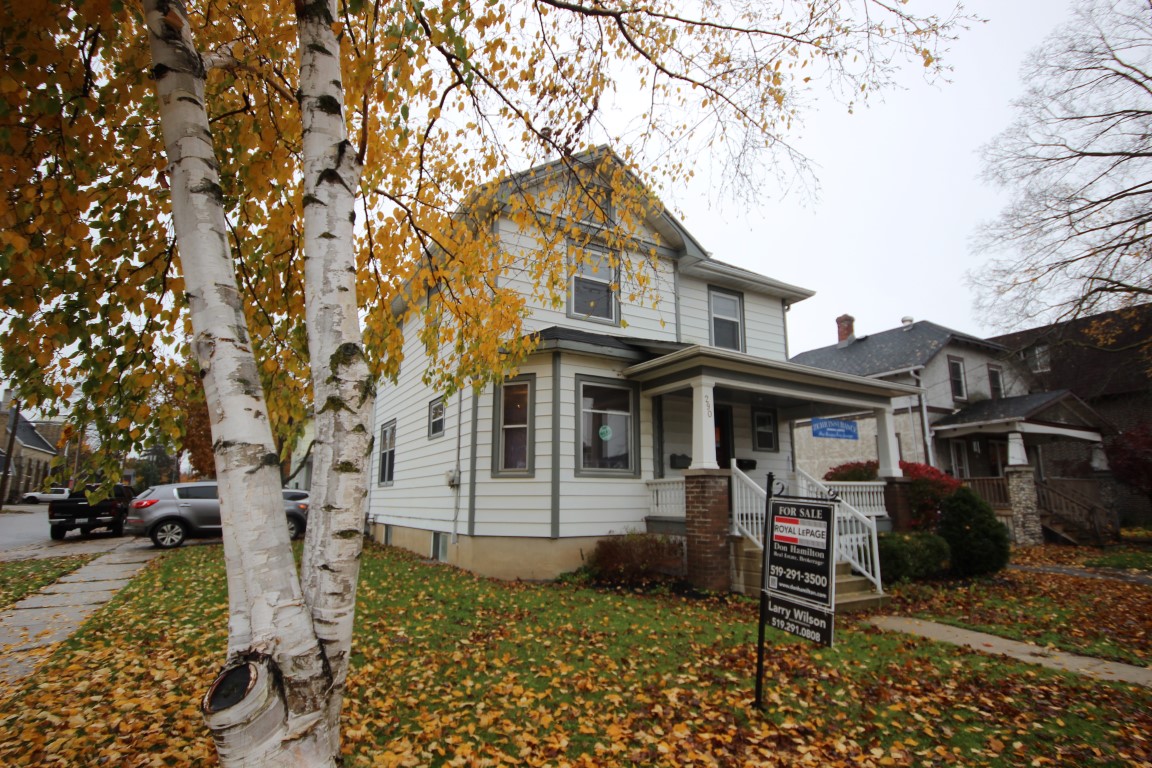
My husband and I decided that the time had come to purchase a building for his business office, we had been looking for quite a while when we discussed a cute 2 storey white sided building located on a corner in town. It just felt right and we could see the potential behind every wallpapered wall. All it needed was fresh paint, perhaps new flooring and a powder room on the main level for now; we could update the rest later so we wouldn’t strain the budget. But as the project unfolded, we quickly decided to skip the 10 year plan and just do it all now to get it over with. Yes, a complete gut, my heart leaped! The office was stripped back to studs and the fresh palette emerged. Here is a before picture of the Inkerman Office:
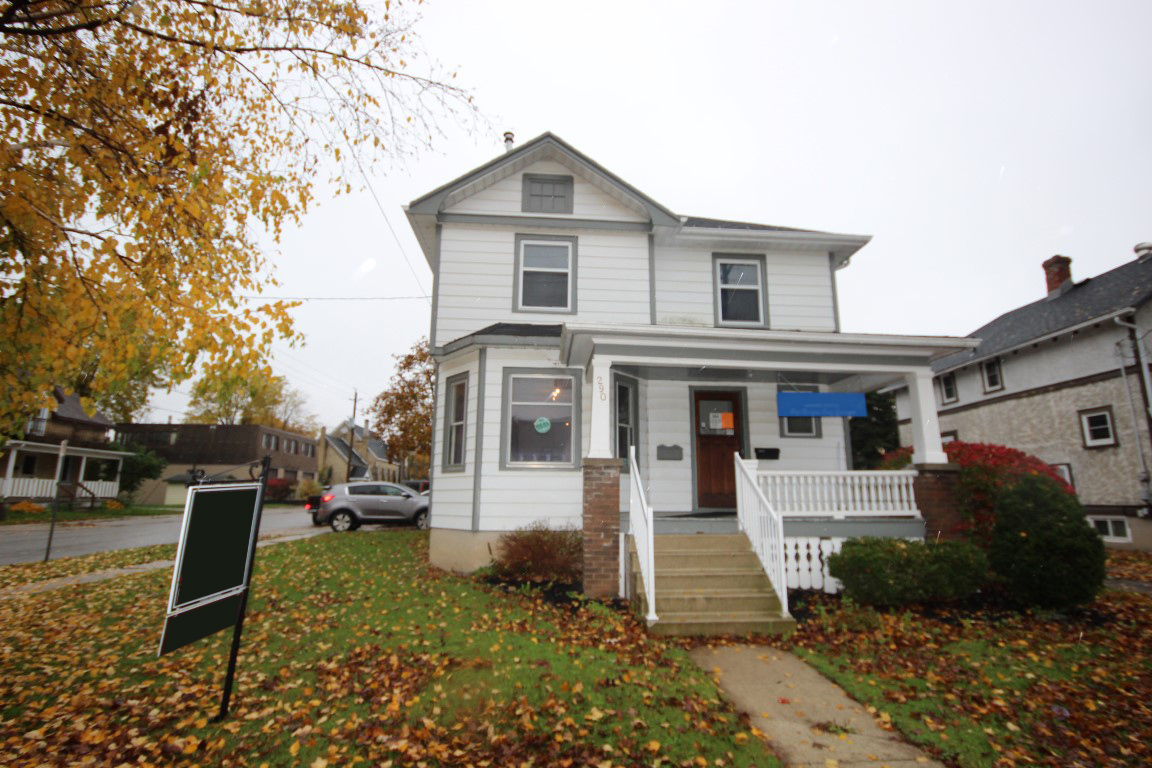
Before
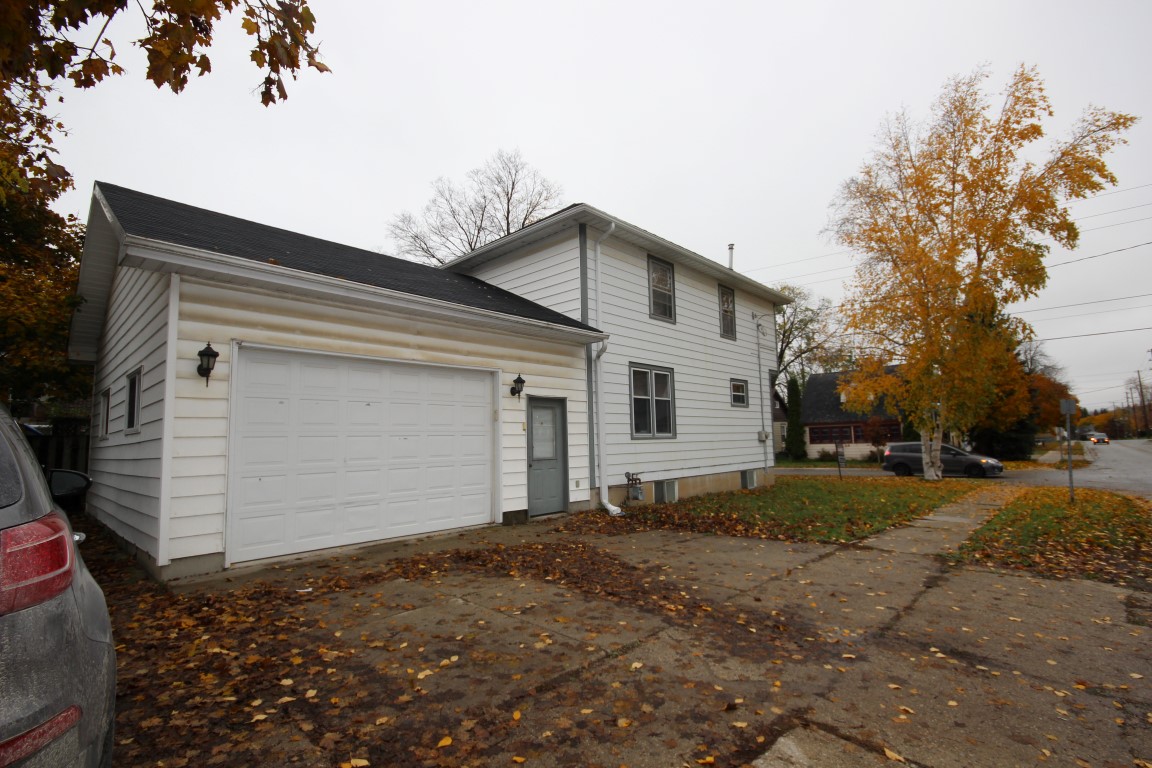
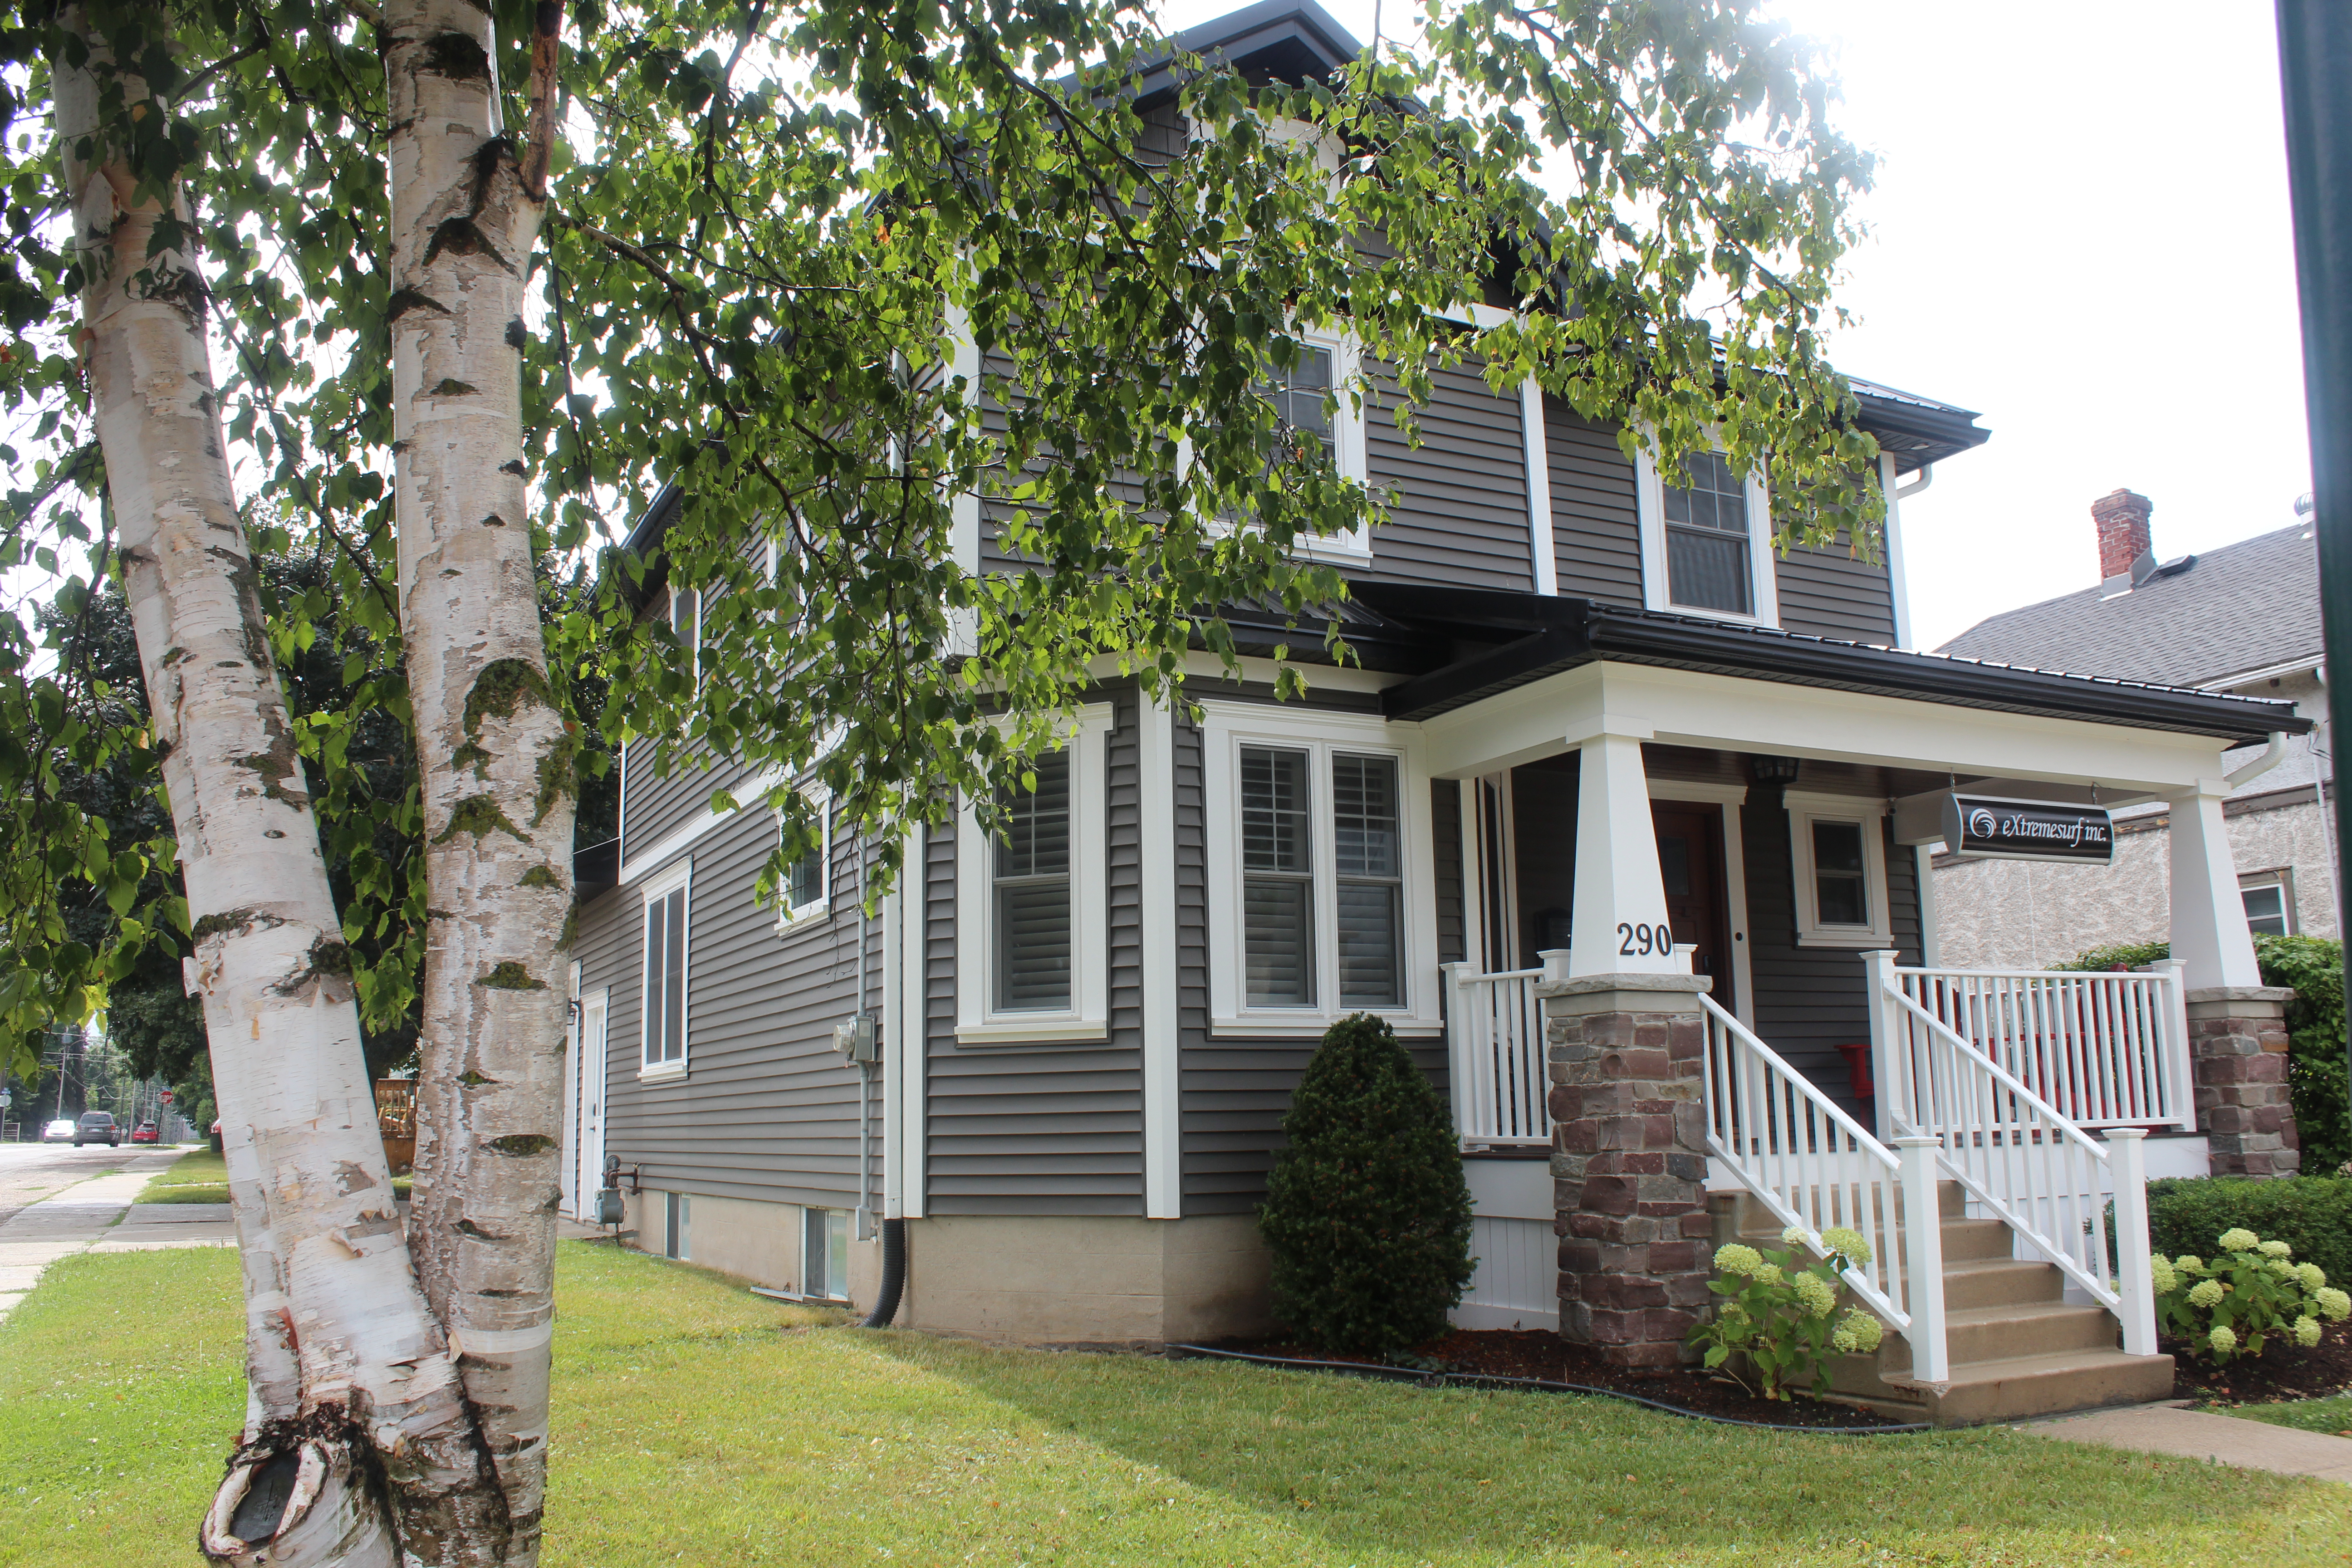
We wanted to select maintenance free products so that upkeep hours could be minimal, so we picked Azek trimming for around the windows, and doors, a metal roof, and composite decking and vinyl siding. Here are a few more before and after pictures of the exterior:
Wait for it…..
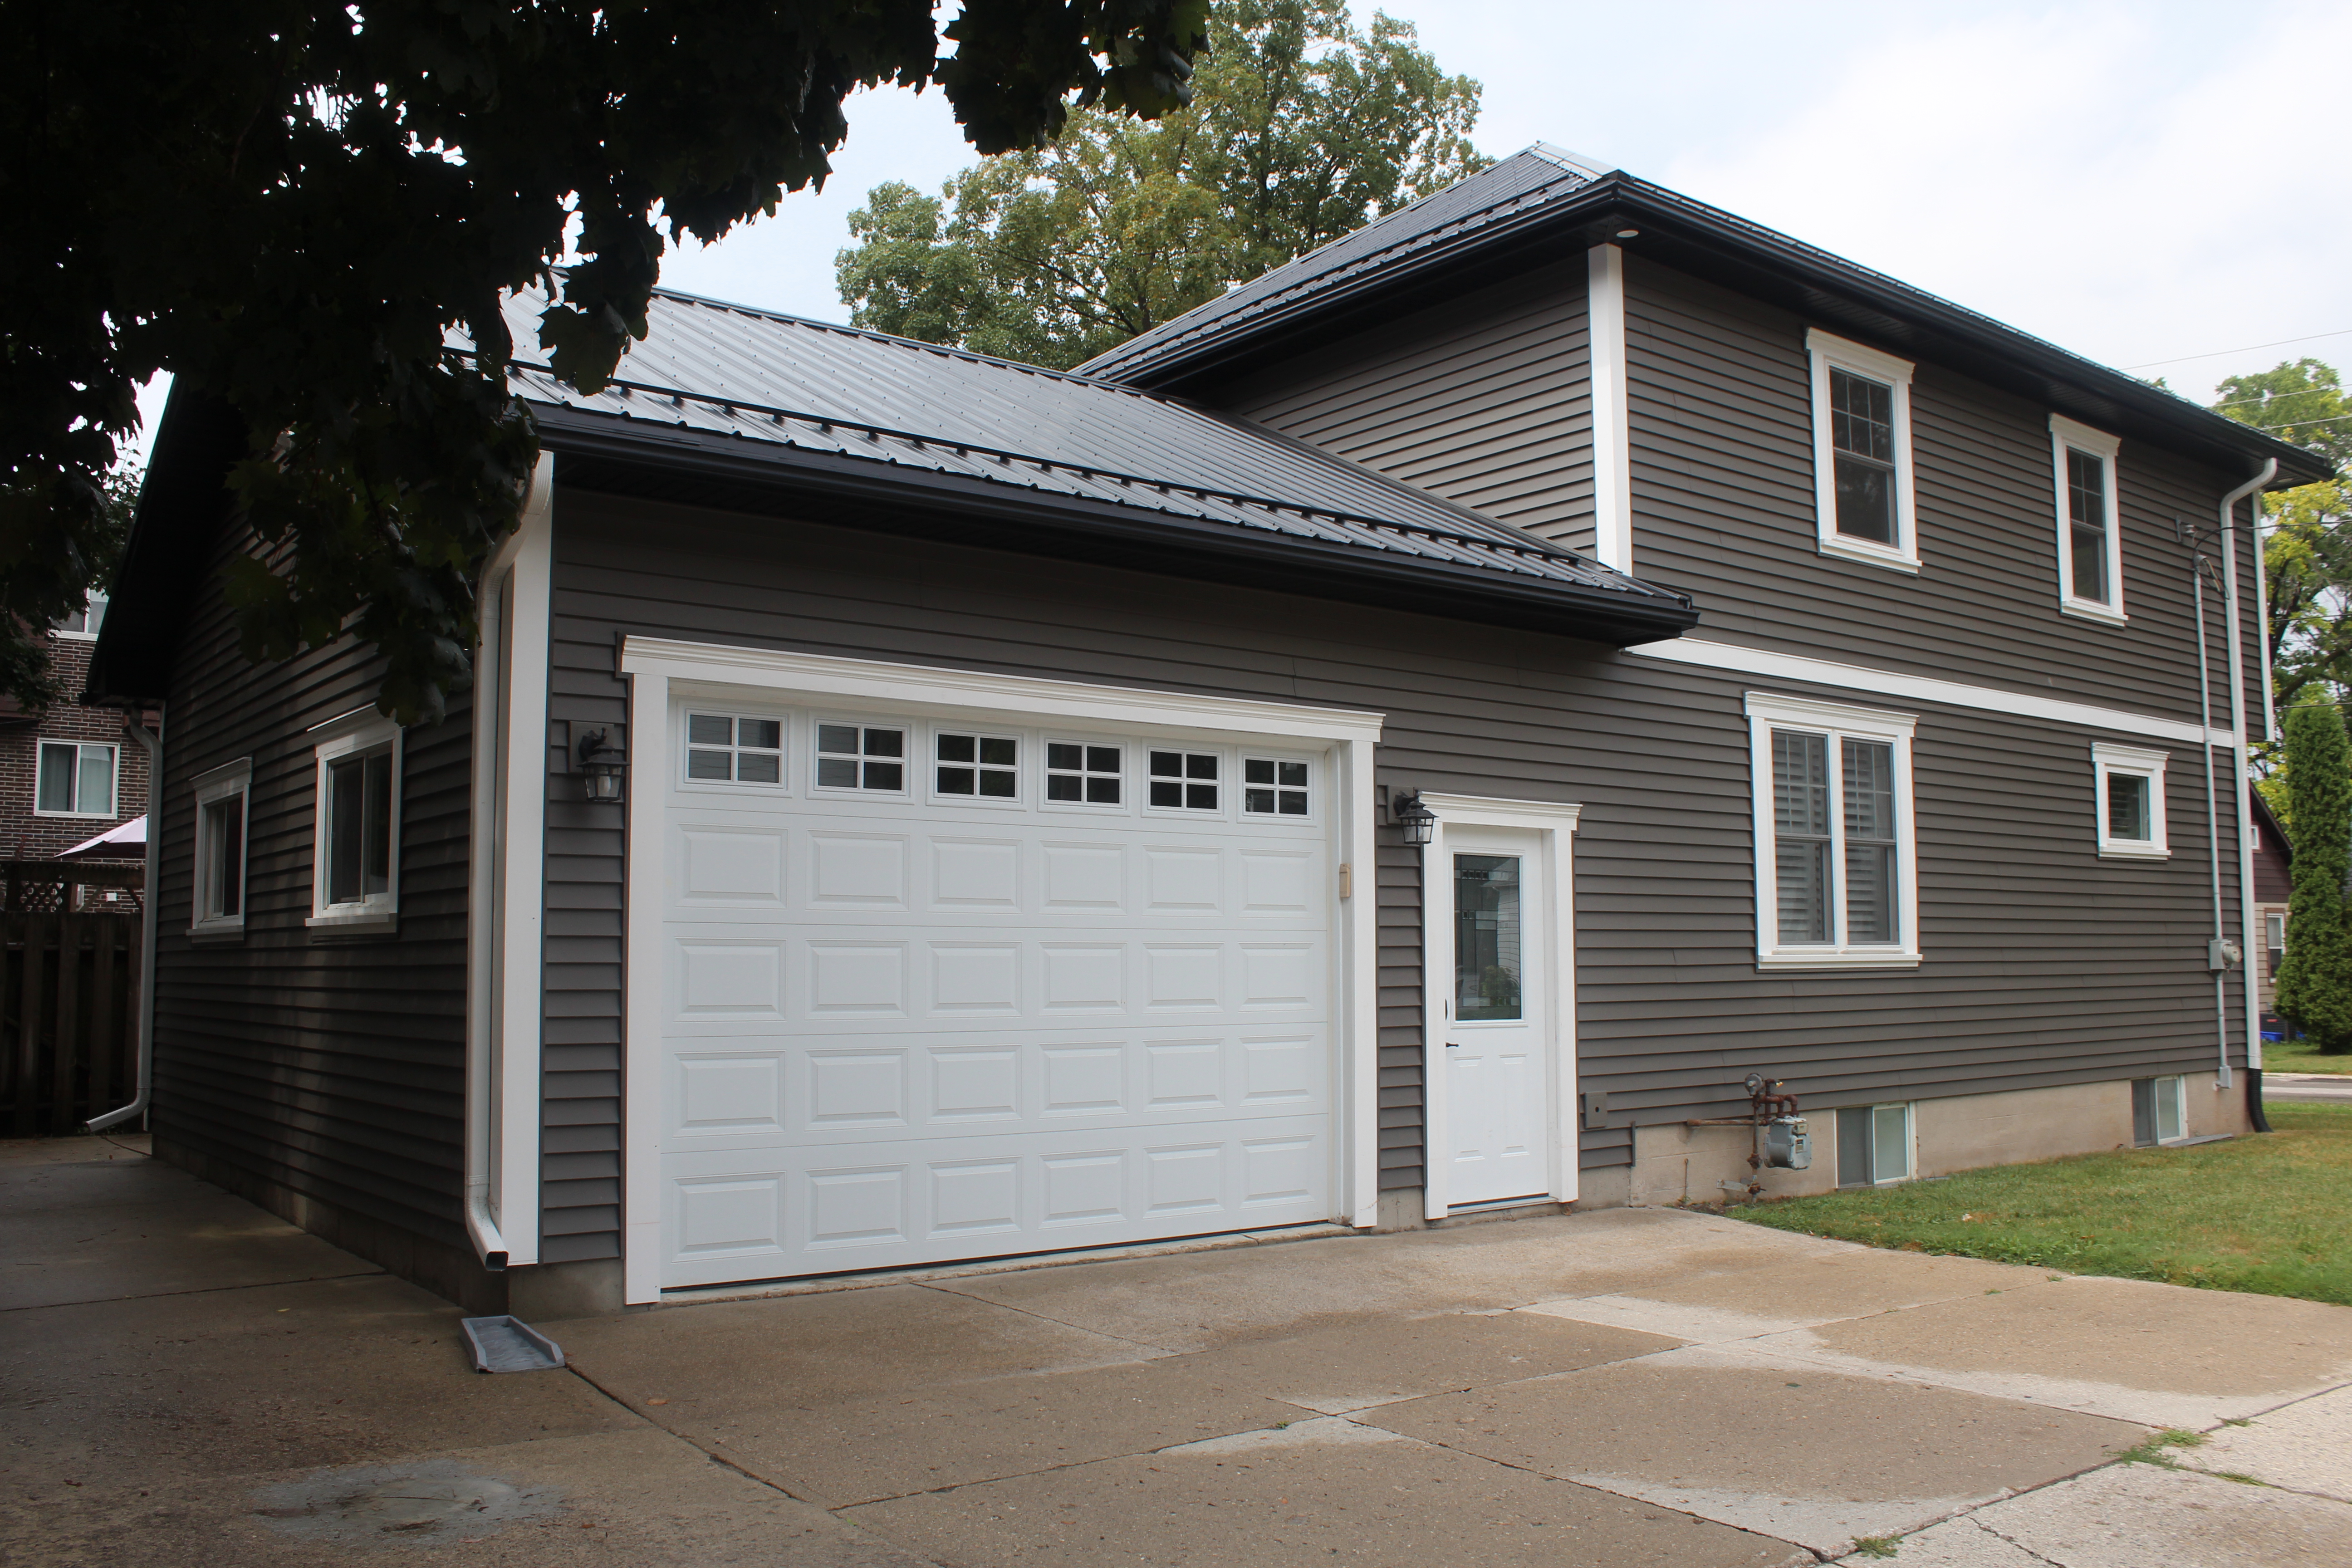
After (side view)
The shingled roof was replaced with a black metal roof. We opted to have the fascia and soffit to be black as well to make the roof material feel more substantial. The downspouts are white to blend into the vertical lines of the new Azek white outside corners.
Before
As it stands today!
Let’s take a look inside shall we?

A before picture of the foyer.
One of the only things we didn’t touch was the staircase. When Habitat for Humanity came to remove the kitchen they mentioned they had matching railing at our local re-store which we used at the top of the stairs for the new return when we removed the ceiling in the foyer (this raised it to a 2-storey entrance). It proved to be a fantastic decision as it made the entrance incredibly airy and open. We loved the front door, but there was a gap that was one inch high under the door, so we opted for a new craftsman style fibreglass door stained mahogany.
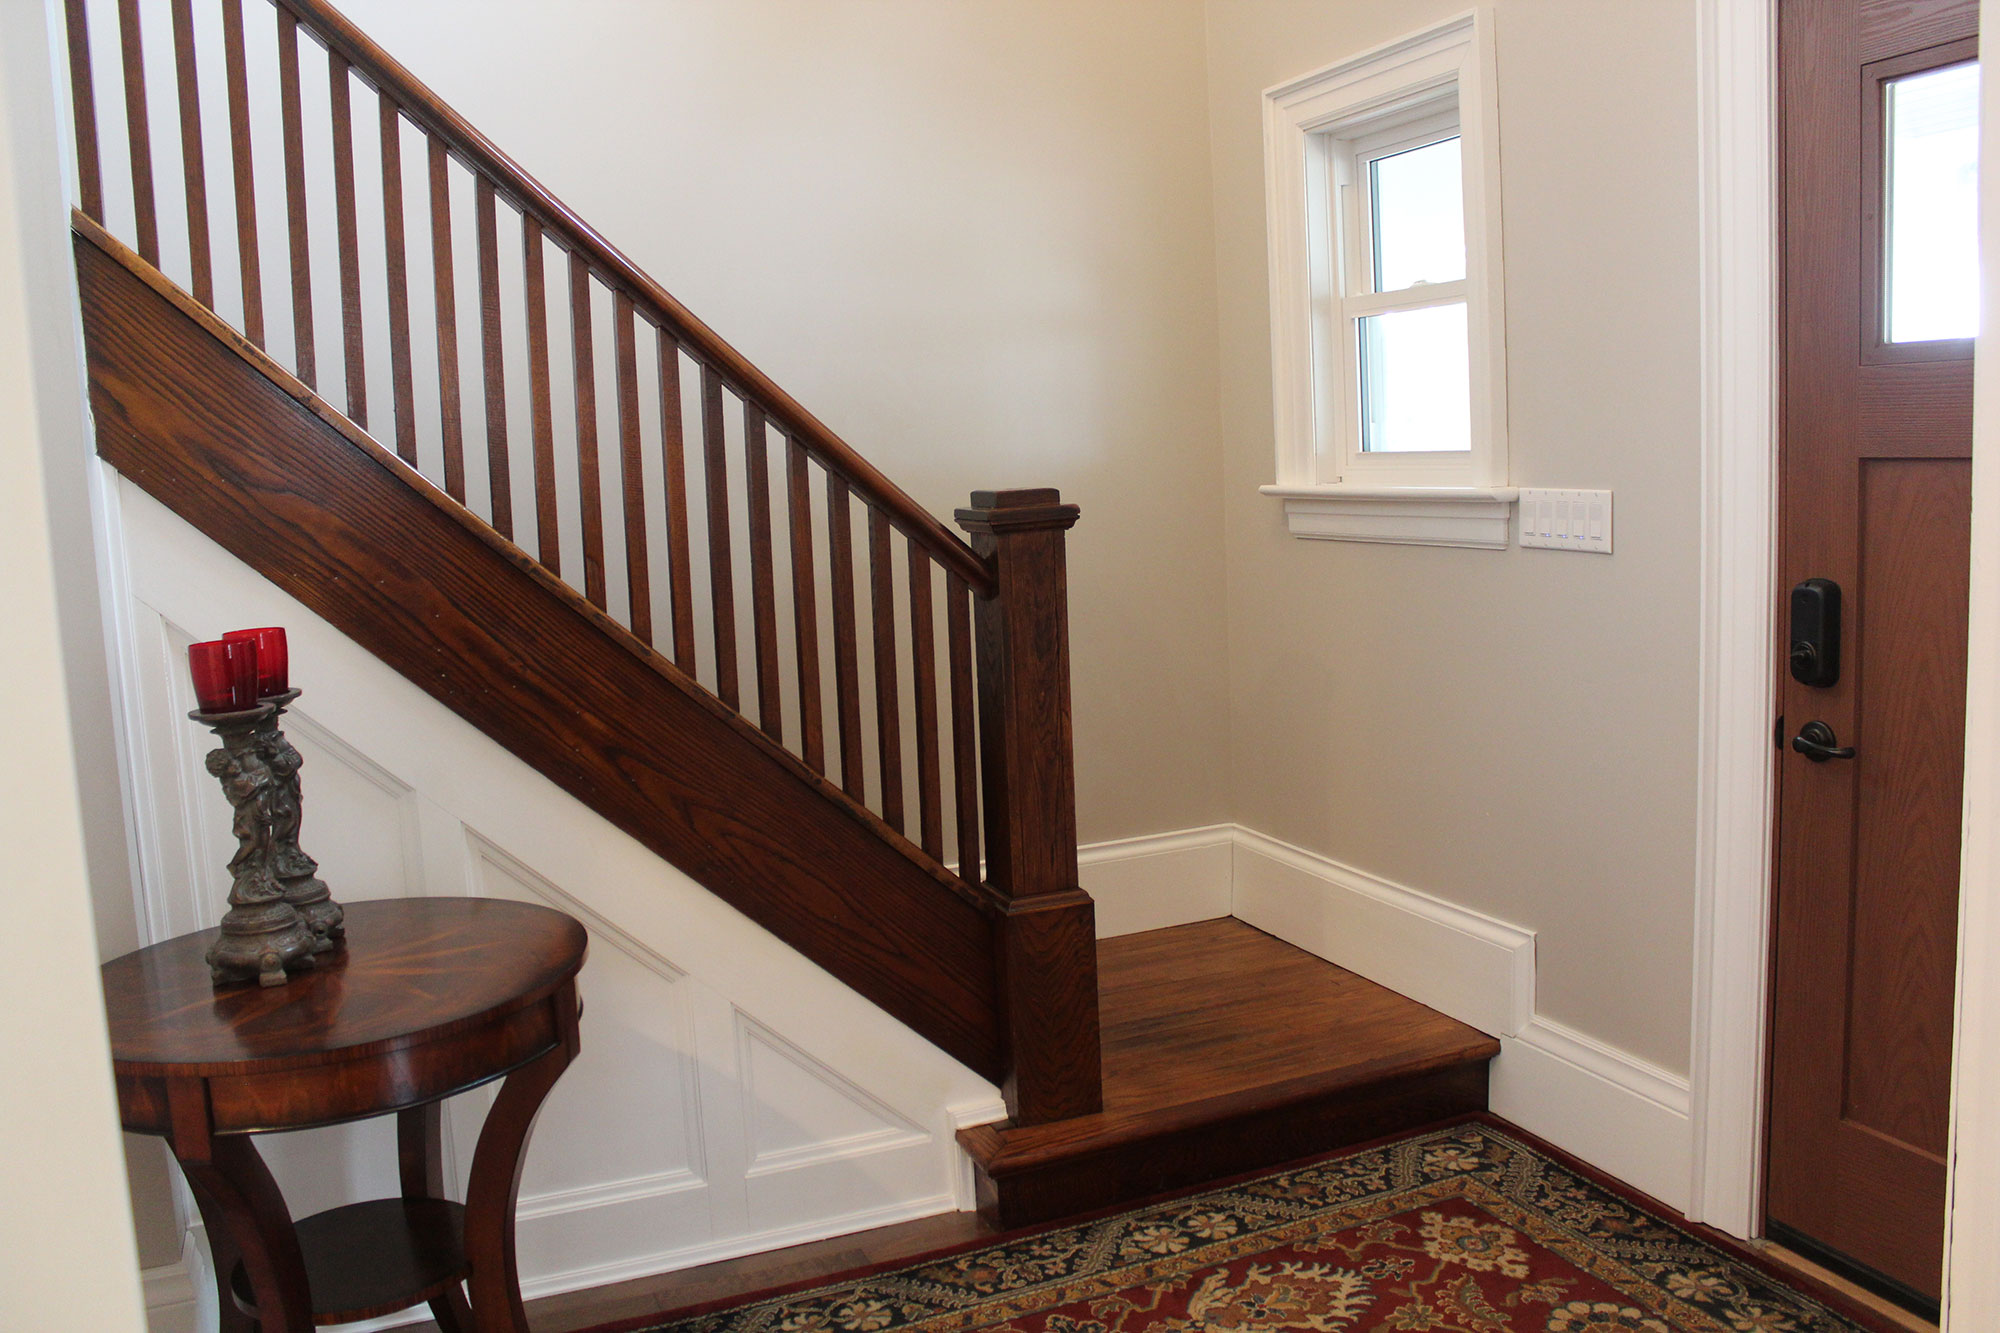
The foyer after.
We added 1×6 clear pine frame panels under the staircase that we finished off inside with a little panel mould for interest. All the light switches are Z-wave so they can be controlled with our cell phones when we are away. The paint colour on the main floor is Abalone by Benjamin Moore.

One of the offices before.
The office had a lot of beautiful wood trim, the baseboards were tall and we had prepared to sand and stain them all. We hit a snag when we discovered that in various previous renovations some trim had been removed, and the remaining trim and doors were comprised of four different species. We took samples of each and had them sanded and we aimed to stain one and then tint the stain for the other three woods until they matched. The process was so arduous that after a few weeks we decided to prime and paint the trim white. We had a set of knives made up from a local wood shop so we could have them make exact replicas of the baseboard for the areas that were missing behind old built-ins.
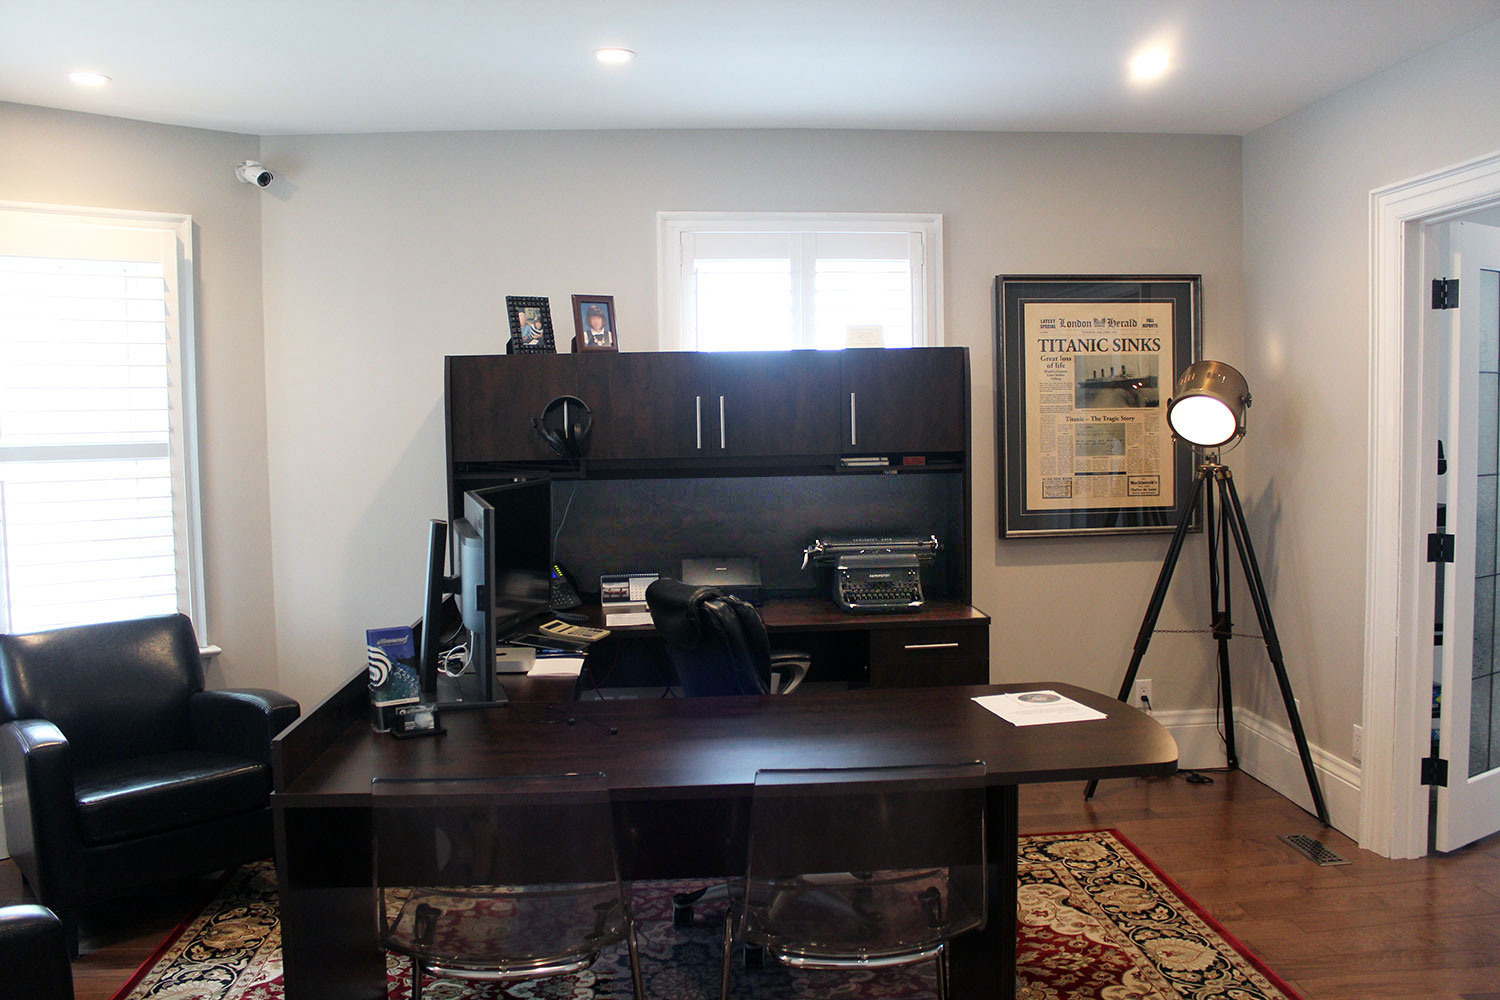
The front office after.
The decision to paint the trim helped our palette transition into a cooler one as the aforementioned woods were somewhat orange in their natural state. I spent two weeks in the evenings tediously taping around the caning on each panel of glass on the old oak french doors so we could paint them oil rubbed bronze. I had great success with Rustoleum’s Universal metallic satin paint and primer in one. I then primed and painted the oak frames a satin white to match the trim.
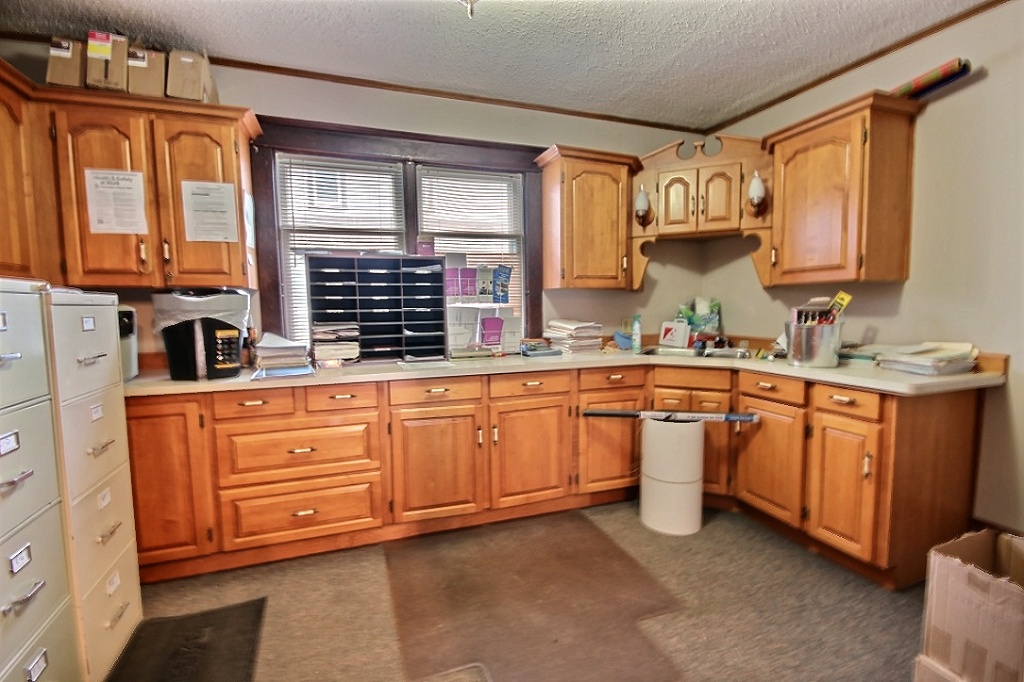
A before shot of the kitchen.
The oak cabinets in the old office were not really used as a kitchen but a filing room, and we decided that all we would really need was a kitchenette, so no range or standard size fridge. For plumbing and locality reasons we placed a powder room to the far right as there was no current bathroom on the main level.
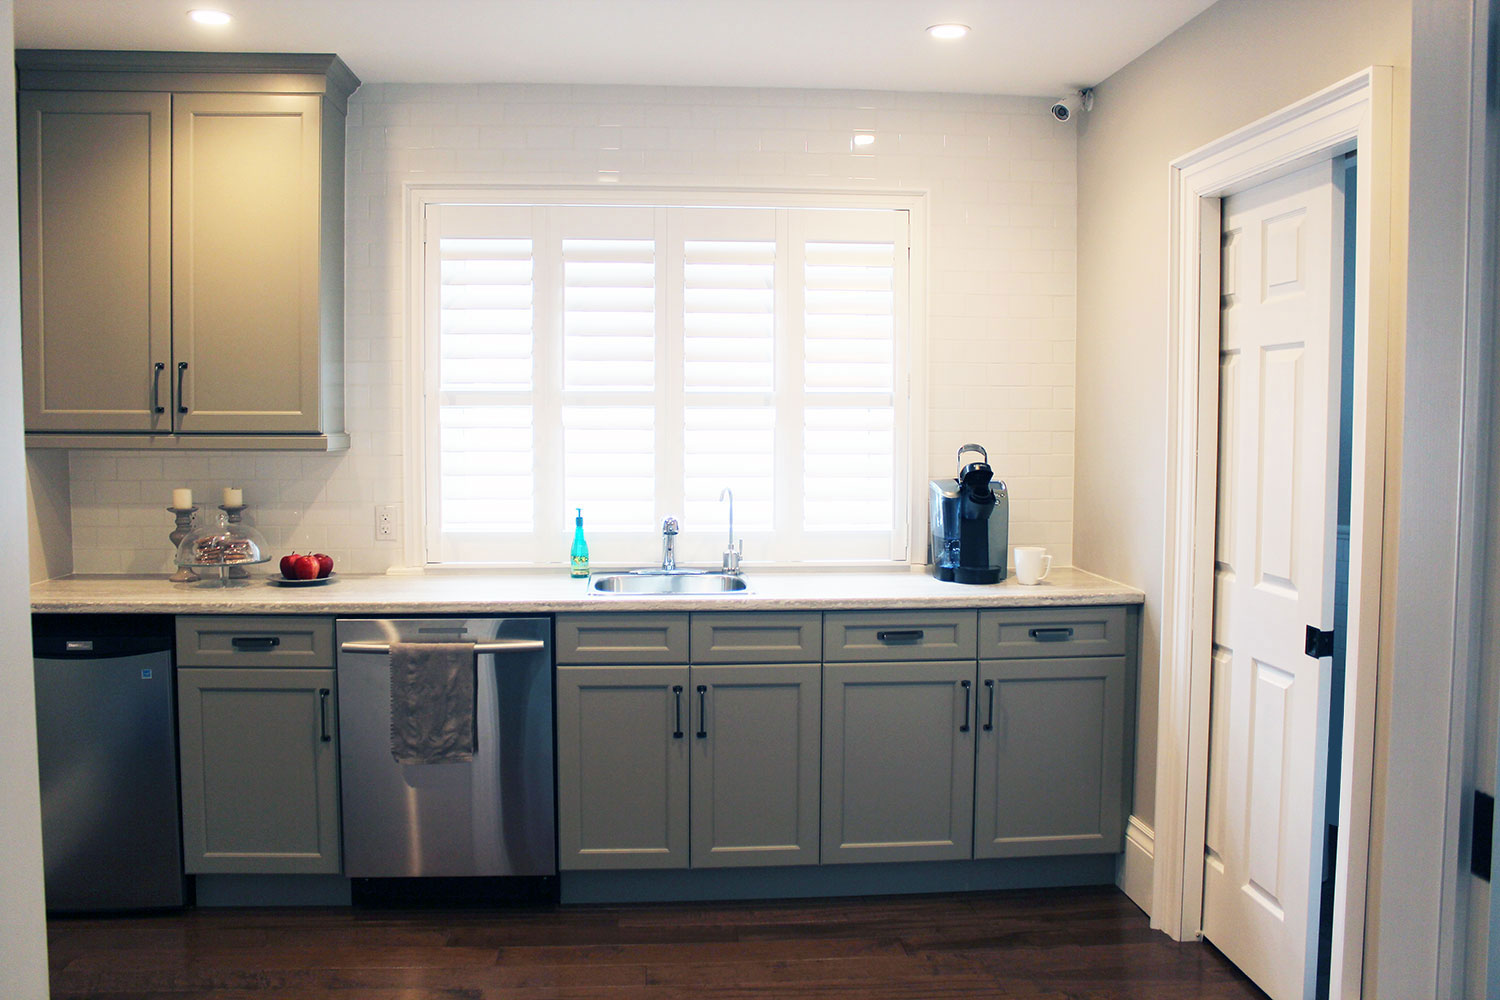
The kitchenette after.
We selected a light grey painted maple cabinet, and one Saturday my husband and I tiled all the way up the main kitchenette wall with glossy white subway tiles with white stain-resistant grout. The countertop is Travertine Silver laminate by Formica, the long linear look of this laminate is great when you have not mitres but just long runs of counter space. The texture of it feels like a real travertine and we picked a very square edge and no attached backsplash so it would look closer to a real slab of stone.
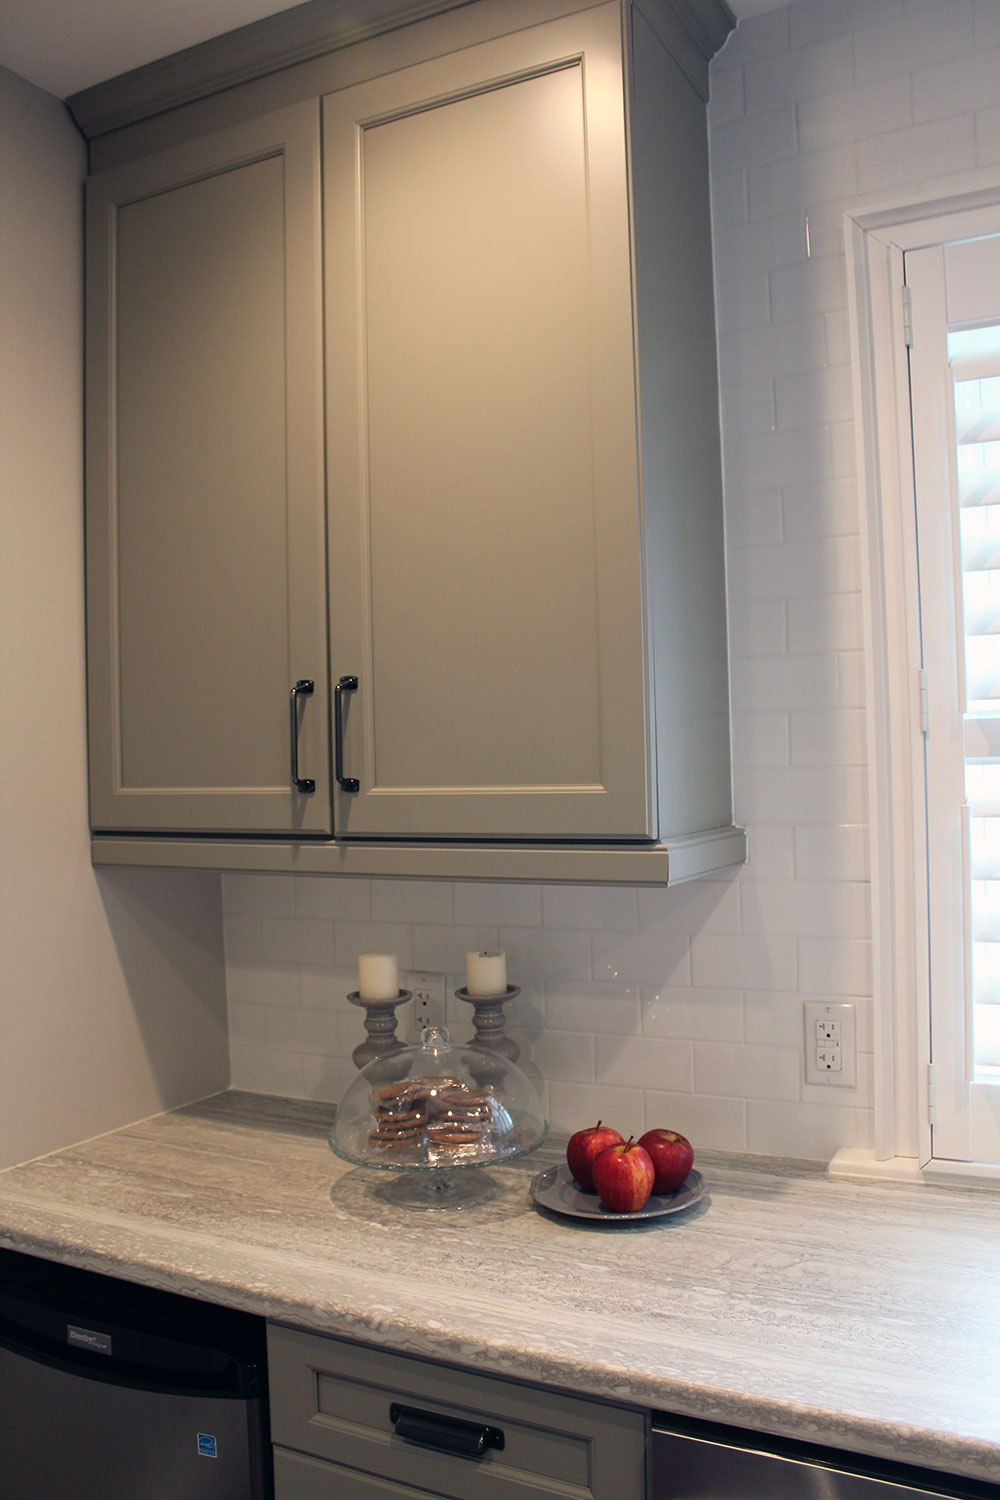
You can see the countertop better in this detailed picture of the kitchenette. All we needed was a sink, dishwasher, and a below-counter fridge to round out the necessities for this room.
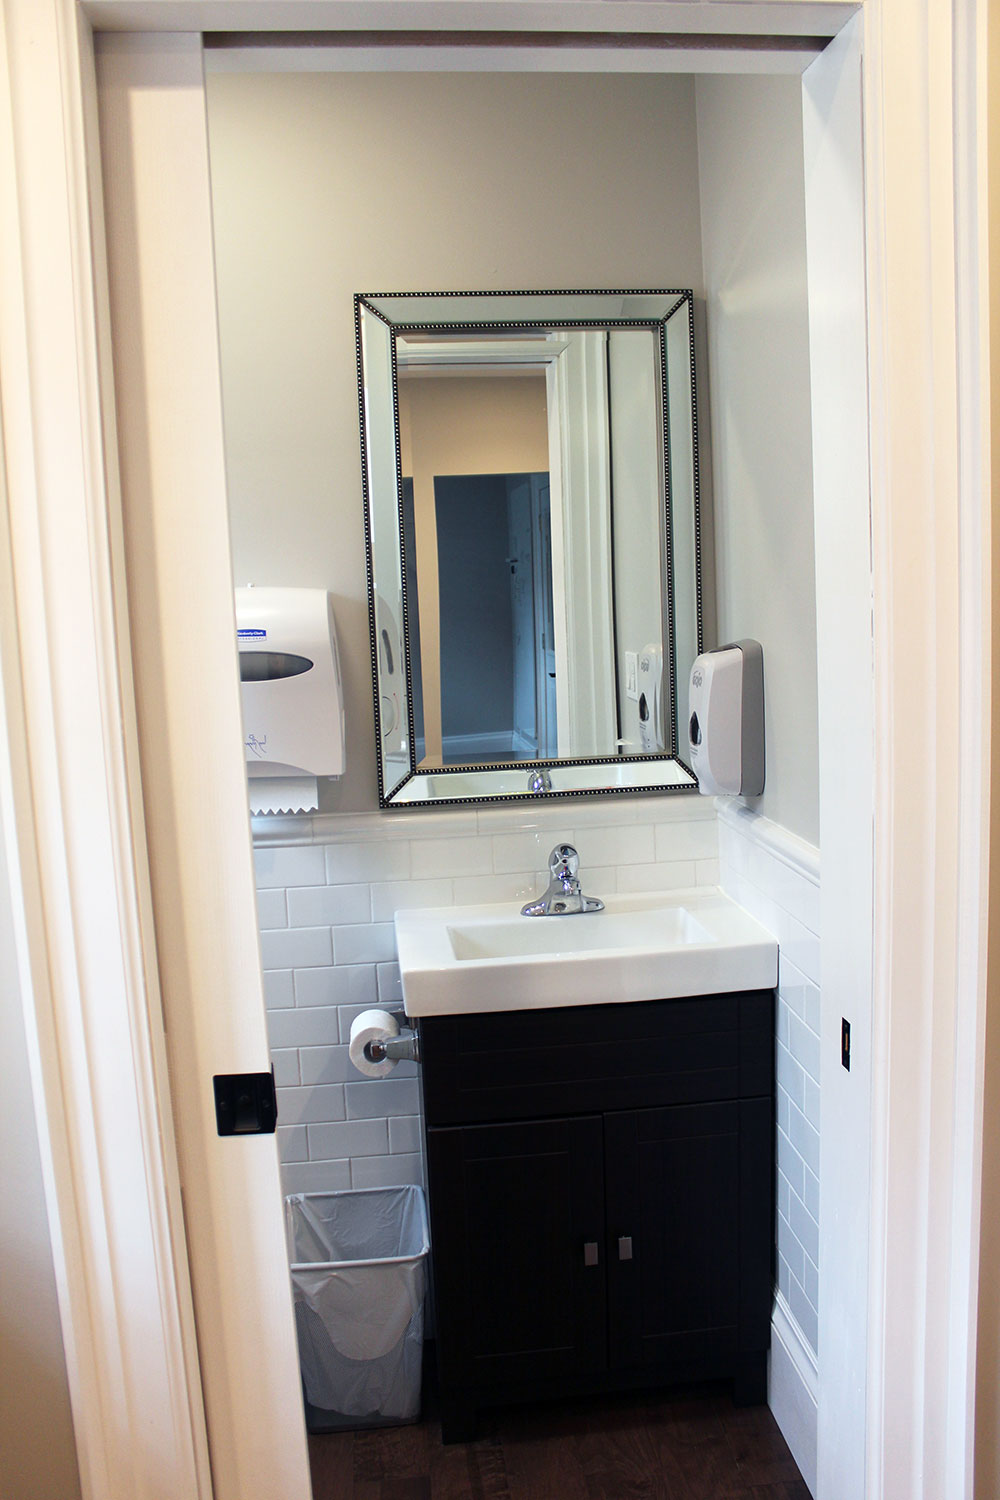
The powder room features a 25″ x 15″ vanity, touch-less soap dispenser and an electronic flushing toilet. We also added a small awning window in the powder room for ventilation and light. We tiled the powder room with the same glossy subway tile to 42″ high and added a 2″x8″ chair-rail tile to cap it off for a traditional look.
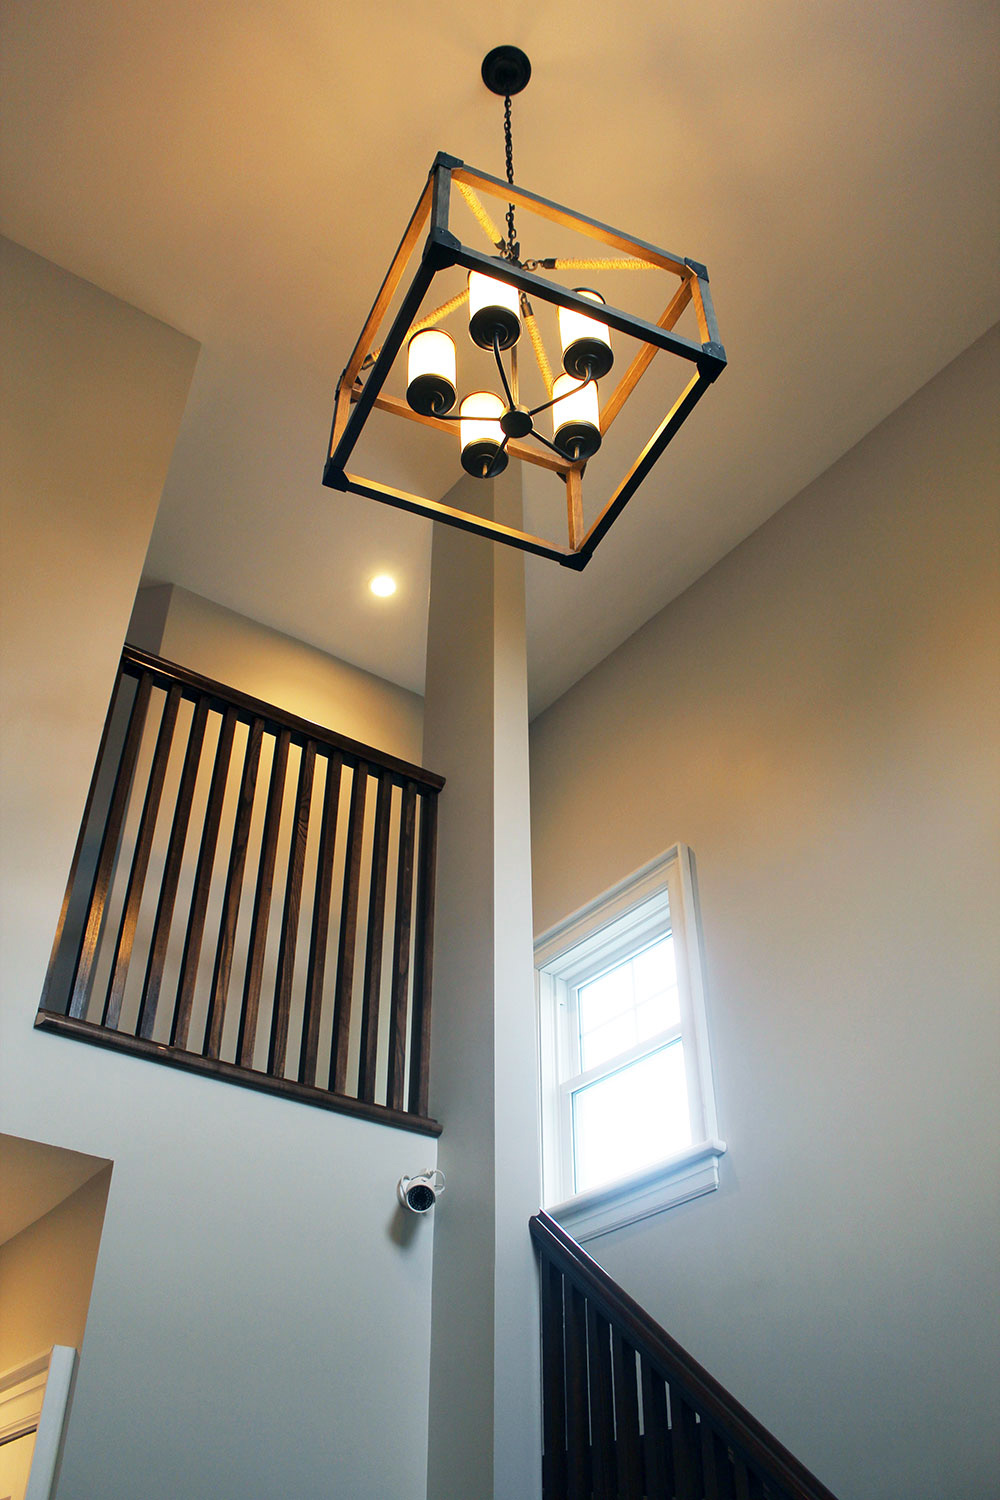
Looking up the in foyer we can see up to the second level, two windows now lend their light to the more open space as well as this Dunning Chandelier.
Other items we tackled included:
Removing a central fireplace that ran through the middle of the house from the top all the way to the basement; this allowed us to run new ducting through the middle of the building. Much like the trunk of a tree with branches out, the heating and cooling is way more efficient now. Knob and tube electrical connections and old wires were all updated and the central open trunk assisted this very well.
Replacing the water heater to a tankless inline water heater. The hot water doesn’t get used as often in an office building as it does in a residential home so the water doesn’t sit in a tank wasting energy and eliminates potential sulphur odour of resting water.
The removed wallpaper revealed cracked finishes on the drywall, so the drywall came off. This in turn revealed that there wasn’t any insulation on the outside walls, so new insulation and vapour barrier was a must. Domino effect anyone?
Overall we are pretty ecstatic about how it turned out and I am so pleased to share it with you!
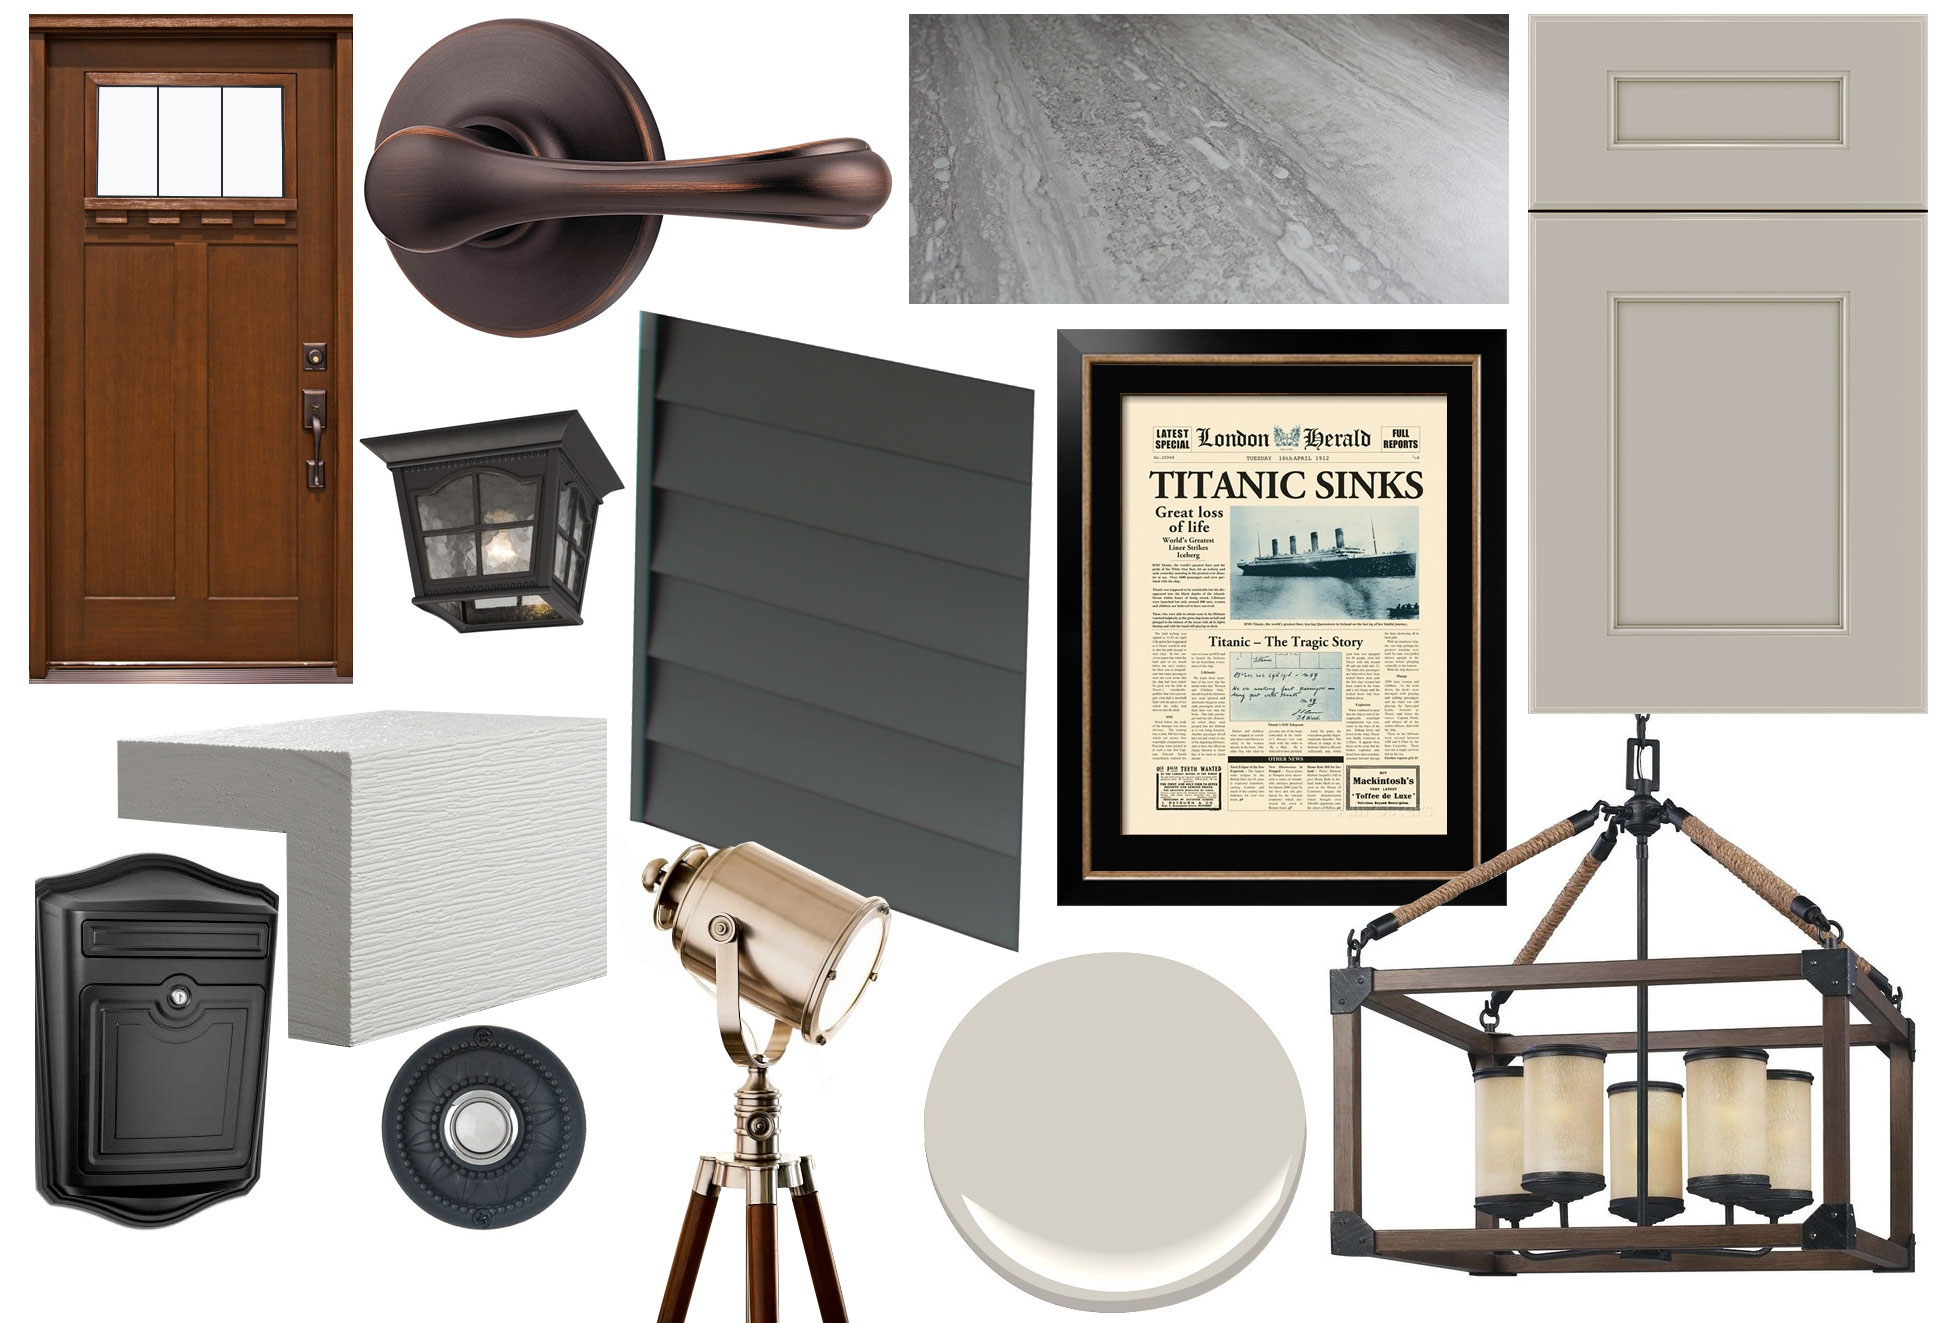
Get this look:

Leave a Reply